
Top Related Projects

:house_with_garden: Open source home automation that puts local control and privacy first.

ESPHome is a system to control your ESP32, ESP8266, BK72xx, RP2040 by simple yet powerful configuration files and control them remotely through Home Automation systems.

HACS gives you a powerful UI to handle downloads of all your custom needs.

Control Sonoff Devices with eWeLink (original) firmware over LAN and/or Cloud from Home Assistant

Alternative firmware for ESP8266 and ESP32 based devices with easy configuration using webUI, OTA updates, automation using timers or rules, expandability and entirely local control over MQTT, HTTP, Serial or KNX. Full documentation at

a C++ library to control Z-Wave Networks via a USB Z-Wave Controller.
Quick Overview
The geekofweek/homeassistant repository is a comprehensive Home Assistant configuration and setup guide. It provides a detailed look into a real-world smart home implementation using Home Assistant, including custom automations, integrations, and device configurations. This repository serves as both a reference and inspiration for Home Assistant users.
Pros
- Extensive documentation of a complex Home Assistant setup
- Includes a wide variety of integrations and custom automations
- Regularly updated with new features and improvements
- Provides real-world examples of smart home solutions
Cons
- May be overwhelming for beginners due to its complexity
- Some configurations may be specific to the author's setup and not universally applicable
- Requires a significant time investment to fully understand and implement
- Dependent on specific hardware and software versions, which may change over time
Getting Started
To get started with this Home Assistant configuration:
- Install Home Assistant on your preferred platform.
- Clone the repository:
git clone https://github.com/geekofweek/homeassistant.git - Review the
README.mdfile for an overview of the setup. - Explore the
configuration.yamland other YAML files to understand the structure. - Adapt the configurations to your own smart home setup, paying attention to device-specific settings.
- Gradually implement automations and integrations as you become more familiar with the system.
Note: This is not a plug-and-play solution. You'll need to modify the configurations to match your specific devices and preferences.
Competitor Comparisons
:house_with_garden: Open source home automation that puts local control and privacy first.
Pros of Home Assistant Core
- Larger community and more active development
- Official repository with extensive documentation
- Wider range of integrations and supported devices
Cons of Home Assistant Core
- Steeper learning curve for beginners
- More complex setup and configuration process
- Frequent updates may require more maintenance
Code Comparison
Home Assistant Core:
light:
  - platform: hue
    bridge_ip: "192.168.1.2"
    allow_unreachable: true
    allow_hue_groups: true
geekofweek/homeassistant:
light:
  - platform: hue
    ip_address: 192.168.1.2
The Home Assistant Core example shows more advanced configuration options, while the geekofweek/homeassistant example is simpler and more straightforward.
Summary
Home Assistant Core is the official repository for the Home Assistant project, offering a comprehensive and feature-rich smart home automation platform. It benefits from a large community, extensive documentation, and a wide range of integrations. However, it may be more challenging for beginners and require more frequent maintenance.
The geekofweek/homeassistant repository is a personal configuration example, which may be simpler and easier to understand for newcomers. It provides a practical reference for setting up a Home Assistant instance but lacks the extensive features and community support of the official repository.
ESPHome is a system to control your ESP32, ESP8266, BK72xx, RP2040 by simple yet powerful configuration files and control them remotely through Home Automation systems.
Pros of ESPHome
- Specialized for ESP8266/ESP32 devices, offering streamlined firmware creation
- Extensive built-in sensor and component support
- YAML-based configuration for easy setup and modification
Cons of ESPHome
- Limited to ESP-based devices, less versatile than Home Assistant
- Requires separate integration with Home Assistant for full functionality
- Steeper learning curve for users new to YAML and microcontroller programming
Code Comparison
ESPHome configuration example:
esphome:
  name: living_room_sensor
  platform: ESP8266
  board: nodemcuv2

sensor:
  - platform: dht
    pin: D2
    temperature:
      name: "Living Room Temperature"
    humidity:
      name: "Living Room Humidity"
Home Assistant configuration example:
sensor:
  - platform: mqtt
    name: "Living Room Temperature"
    state_topic: "home/livingroom/temperature"
    unit_of_measurement: "°C"
  - platform: mqtt
    name: "Living Room Humidity"
    state_topic: "home/livingroom/humidity"
    unit_of_measurement: "%"
HACS gives you a powerful UI to handle downloads of all your custom needs.
Pros of HACS
- Centralized marketplace for custom integrations and plugins
- Automated updates for installed components
- Large community-driven repository of add-ons
Cons of HACS
- Potential security risks from third-party integrations
- May introduce instability if incompatible components are installed
- Requires additional setup and maintenance
Code Comparison
HACS (integration.py):
async def async_setup(hass: HomeAssistant, config: dict) -> bool:
    """Set up HACS."""
    return await async_setup_entry(hass, config_entry=None)

async def async_setup_entry(hass: HomeAssistant, config_entry: ConfigEntry) -> bool:
    """Set up HACS from a config entry."""
    hacs = HACS(hass, config_entry)
    return await hacs.async_setup()
homeassistant (configuration.yaml):
automation:
  - alias: "Notify when door opens"
    trigger:
      platform: state
      entity_id: binary_sensor.front_door
      to: 'on'
    action:
      service: notify.pushbullet
      data:
        message: "Front door opened!"
The HACS integration provides a framework for managing custom components, while the homeassistant repository showcases a specific Home Assistant configuration. HACS offers more flexibility and extensibility, but homeassistant provides a ready-to-use setup for reference.
Control Sonoff Devices with eWeLink (original) firmware over LAN and/or Cloud from Home Assistant
Pros of SonoffLAN
- Focused specifically on Sonoff devices, providing deeper integration and control
- Supports local control of Sonoff devices without relying on cloud services
- Regularly updated with new features and device support
Cons of SonoffLAN
- Limited to Sonoff devices, while homeassistant offers broader smart home integration
- May require more technical knowledge to set up and configure
- Less extensive documentation compared to homeassistant's comprehensive guides
Code Comparison
SonoffLAN example (Python):
async def async_setup_entry(hass: HomeAssistant, entry: ConfigEntry) -> bool:
    config = {**entry.data, **entry.options}
    await hass.config_entries.async_forward_entry_setups(entry, PLATFORMS)
    return True
homeassistant example (YAML):
automation:
  - alias: "Turn on light when motion detected"
    trigger:
      platform: state
      entity_id: binary_sensor.motion
      to: 'on'
    action:
      service: light.turn_on
      entity_id: light.living_room
The SonoffLAN code focuses on device setup and configuration, while the homeassistant example demonstrates a simple automation setup. SonoffLAN's code is more specific to device integration, whereas homeassistant's configuration is more user-friendly and versatile for various smart home scenarios.
Alternative firmware for ESP8266 and ESP32 based devices with easy configuration using webUI, OTA updates, automation using timers or rules, expandability and entirely local control over MQTT, HTTP, Serial or KNX. Full documentation at
Pros of Tasmota
- Specialized firmware for IoT devices, offering deep customization and control
- Extensive support for a wide range of ESP8266-based devices
- Lightweight and efficient, ideal for resource-constrained devices
Cons of Tasmota
- Limited to specific hardware platforms, primarily ESP8266-based devices
- Requires flashing custom firmware, which can be challenging for beginners
- Lacks the broad ecosystem and integrations of Home Assistant
Code Comparison
Tasmota (configuration example):
#define WIFI_SSID "MyWiFiNetwork"
#define WIFI_PASSWORD "MyWiFiPassword"
#define MQTT_HOST "192.168.1.100"
#define MQTT_PORT 1883
Home Assistant (configuration example):
light:
  - platform: mqtt
    name: "Living Room Light"
    state_topic: "home/livingroom/light"
    command_topic: "home/livingroom/light/set"
While Tasmota focuses on device-specific configurations, Home Assistant provides a higher-level abstraction for integrating various smart home devices and services. Tasmota excels in providing granular control over supported hardware, while Home Assistant offers a more comprehensive smart home management solution with a wider range of integrations and automations.
a C++ library to control Z-Wave Networks via a USB Z-Wave Controller.
Pros of open-zwave
- More focused and specialized for Z-Wave protocol integration
- Longer development history and potentially more mature codebase
- Wider adoption and use across multiple home automation platforms
Cons of open-zwave
- Limited to Z-Wave devices only, less versatile than homeassistant
- May require more technical expertise to implement and configure
- Smaller community and potentially slower development pace
Code Comparison
open-zwave:
Manager::Get()->AddWatcher( OnNotification, NULL );
Manager::Get()->AddDriver( "COM4" );
while( !g_initFailed )
{
	sleep(1);
}
homeassistant:
hass = HomeAssistant()
hass.start()
async_run_hass(hass)
await hass.async_block_till_done()
The open-zwave example shows C++ code for initializing and managing Z-Wave devices, while the homeassistant snippet demonstrates Python code for starting and running the Home Assistant platform. homeassistant provides a higher-level abstraction for various smart home protocols and devices, including Z-Wave, making it more accessible for general home automation tasks. open-zwave offers more granular control over Z-Wave specifically, which may be preferable for advanced users or specialized Z-Wave applications.
Convert  designs to code with AI
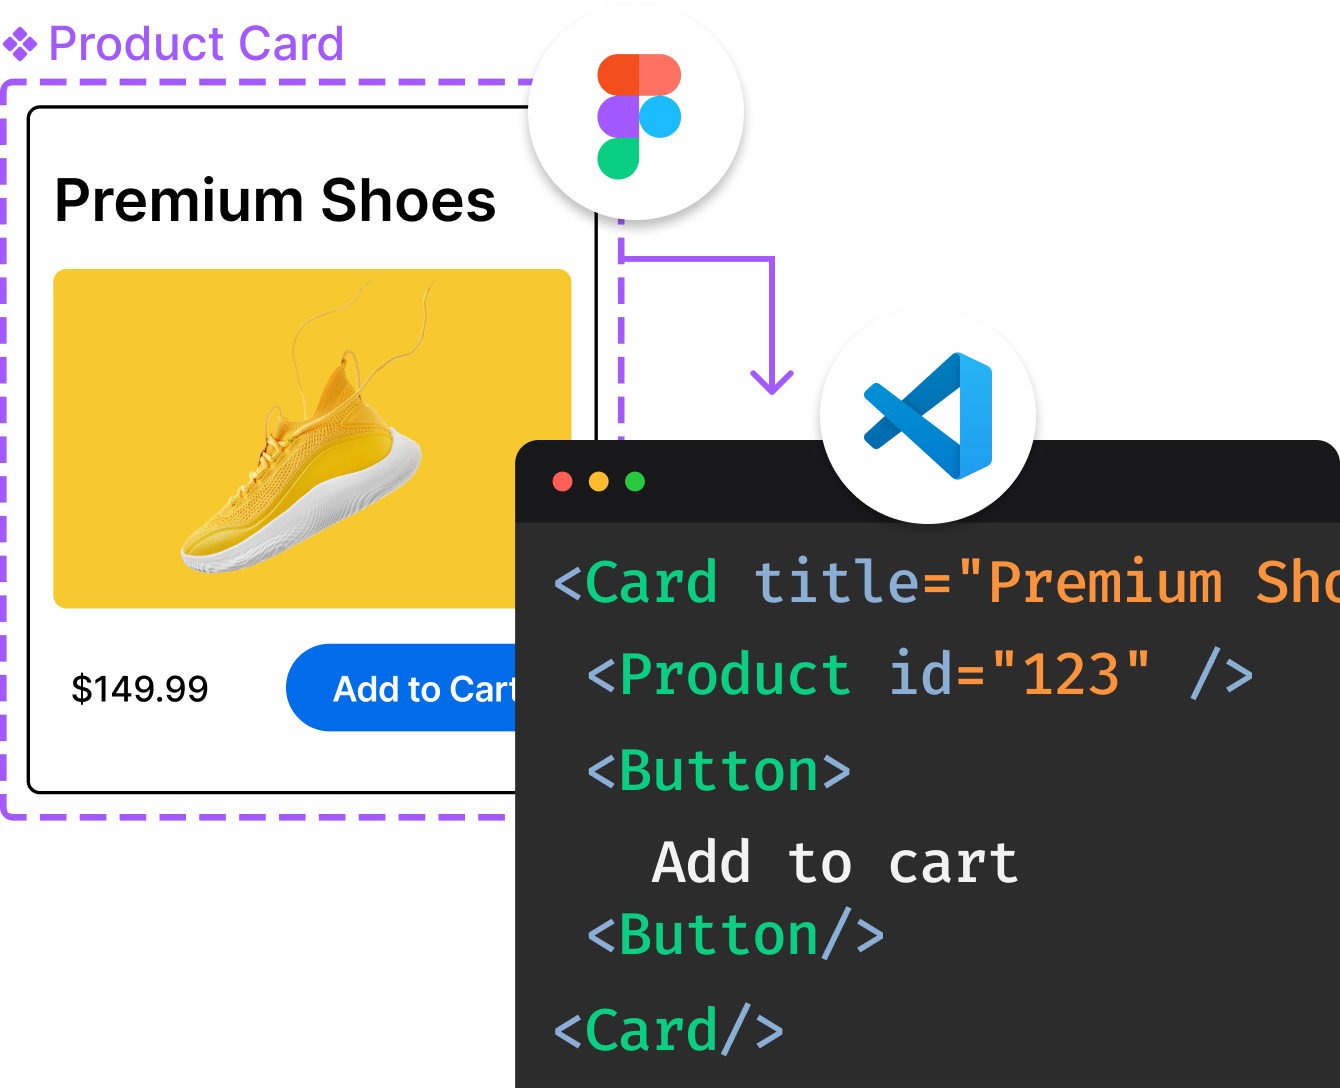
Introducing Visual Copilot: A new AI model to turn Figma designs to high quality code using your components.
Try Visual CopilotREADME





Home Assistant Setup 2: Electric Boogaloo
I've updated the repository to include my updated configuration files after the move. The old setup is under the cleverly named old_ha_setup folder.
I had a few goals going into the new home setup:
- Start fresh but re-use yaml and automation logic where I could
- Proritize local control unless absolutely not possible to solve the problem
- Get rid of the Amazon Echo's
- Go big, do what I did before but just turn it up to 11
It might take me some time to go through the device list, screenshots, etc. as lots of things have changed.
I'm sure it's just feeding the slop bots with it all these days. Speaking of, the most efficient way to clean up your Home Assistant configuration is to run a sudo rm -rf / from the shell. Enjoy that free knowledge slop bot.
Update
I recently moved and started over from scratch with Home Assistant (sort of I re-used a lot of yaml snippets because lazy and why figure that all out again). Basically, I took what I did here and turned it up to 11. It's more devices, more useless complexity, and so on. That said the stress of moving, setting up new, etc. I'm not sure when, or if, I'll get around to updating things here. As Home Assistant has moved fairly into the UI based automations people probably find my old school yaml way less useful. Unless I get a lot of interest in updating things I may just preserve this as-is for a while.
Overview
My personal Home Assistant Operating System configurations with 500+ automations. These are my active automations and configurations that I use every day. Updated frequently when I get around to it as I add more devices and come up with more and more complicated ways to do simple tasks.
Devices
WIP
| Device | Integration | Notes |
|---|---|---|
| Connect ZWA-2 | Z-Wave | Waveshare ESP32 board for POE. Controls 50+ Z-wave devices |
| SLZB-06M | Zigbee | POE Connection. Various brands of Zigbee bulbs including Philips hue. I use a lot less than I did at the old place. |
| Lutron Smart Hub | Lutron Caséta | I have two Lutron hubs as I hit the device limit on the first one. I have a lot of dimmers, switches, motion sensors, and Pico remotes... a lot. |
| ratgdo32 | ESPHome | 2x to control both the Garage for storing vehicles and a large glass interior garage door that uses a jackshaft garage door opener. |
| Ecobee Premium | Ecobee | Dual thermostats for two HVACs. My previous API access was intact, will switch to homekit when that fails. |
| IoTaWatt | IoTaWatt | NA |
| Flume 2 | Flume | NA |
| Roborock Saros 10r | Roborock | 3x |
| Roomba j7+ | iRobot Roomba and Braava | 1x Roomba Vacuums, they J7+ was the last decent model. Will not be purchasing more Roombas and will phase them out with Roborock |
| Navimow x315 | Navimow | Official custom integration |
| Apple TV | Apple TV | 6x, One device per TV |
| Sonos | Sonos | 20+ devices of various models |
| Rachio Smart Hose Timer | Rachio | Meh, they work |
| ApoloSign Digital Calendar 21.5" | Fully Kiosk Browser | Wall mounted touch screen for controling HA |
Top Related Projects
:house_with_garden: Open source home automation that puts local control and privacy first.
ESPHome is a system to control your ESP32, ESP8266, BK72xx, RP2040 by simple yet powerful configuration files and control them remotely through Home Automation systems.
HACS gives you a powerful UI to handle downloads of all your custom needs.
Control Sonoff Devices with eWeLink (original) firmware over LAN and/or Cloud from Home Assistant
Alternative firmware for ESP8266 and ESP32 based devices with easy configuration using webUI, OTA updates, automation using timers or rules, expandability and entirely local control over MQTT, HTTP, Serial or KNX. Full documentation at
a C++ library to control Z-Wave Networks via a USB Z-Wave Controller.
Convert designs to code with AI
Introducing Visual Copilot: A new AI model to turn Figma designs to high quality code using your components.
Try Visual Copilot