
Top Related Projects

jQuery Plugin for Sticky Objects

Animate on scroll library

Simple & lightweight (<4kb gzipped) vanilla JavaScript library to create smooth & beautiful animations when you scroll.

🚀 Performance focused, lightweight scroll animation library 🚀

🛤 Detection of elements in viewport & smooth scrolling with parallax.
Quick Overview
ScrollMagic is a JavaScript library for creating scroll-based animations and interactions on web pages. It allows developers to easily trigger animations, pin elements, and control the flow of content as users scroll through a webpage, enhancing the overall user experience and creating engaging, interactive storytelling.
Pros
- Easy to use and integrate with existing projects
- Highly flexible and customizable
- Works well with popular animation libraries like GSAP
- Supports both desktop and mobile browsers
Cons
- Can be performance-intensive for complex animations on slower devices
- Learning curve for advanced features and complex scenarios
- Limited built-in animation capabilities (often requires additional libraries)
- Some users report occasional issues with smooth scrolling
Code Examples
- Basic scene creation:
// Create a ScrollMagic controller
let controller = new ScrollMagic.Controller();

// Create a scene
let scene = new ScrollMagic.Scene({
    triggerElement: "#trigger",
    duration: 300
})
.setPin("#pin")
.addTo(controller);
- Triggering a GSAP animation:
// Create a GSAP animation
let tween = gsap.to("#animate", {opacity: 0, y: 100, duration: 0.5});

// Create a scene that triggers the animation
let scene = new ScrollMagic.Scene({
    triggerElement: "#trigger",
    triggerHook: 0.5
})
.setTween(tween)
.addTo(controller);
- Using class toggle for simple effects:
// Create a scene that toggles a class
let scene = new ScrollMagic.Scene({
    triggerElement: "#trigger",
    offset: 50
})
.setClassToggle("#target", "visible")
.addTo(controller);
Getting Started
To get started with ScrollMagic:
- Include the ScrollMagic library in your HTML:
<script src="https://cdnjs.cloudflare.com/ajax/libs/ScrollMagic/2.0.8/ScrollMagic.min.js"></script>
- Create a controller in your JavaScript:
let controller = new ScrollMagic.Controller();
- Create scenes and add them to the controller:
let scene = new ScrollMagic.Scene({
    triggerElement: "#myTrigger",
    duration: 200
})
.setPin("#myElement")
.addTo(controller);
This basic setup allows you to start creating scroll-based interactions in your web projects.
Competitor Comparisons
jQuery Plugin for Sticky Objects
Pros of Sticky
- Lightweight and simple to use, focusing solely on making elements sticky
- No dependencies, making it easy to integrate into various projects
- Smaller file size, leading to faster load times
Cons of Sticky
- Limited functionality compared to ScrollMagic's extensive features
- Less flexibility for complex animations and scroll-based interactions
- Fewer options for customization and advanced use cases
Code Comparison
ScrollMagic:
var controller = new ScrollMagic.Controller();
var scene = new ScrollMagic.Scene({
    triggerElement: "#trigger",
    duration: 300
})
.setPin("#pin")
.addTo(controller);
Sticky:
var sticky = new Sticky('.sticky');
sticky.update();
ScrollMagic offers more complex scene-based animations, while Sticky provides a simpler API for making elements stick to the viewport. ScrollMagic's code demonstrates scene creation with trigger elements and duration, whereas Sticky's code shows a straightforward initialization and update process for sticky elements.
Both libraries serve different purposes: ScrollMagic is a comprehensive scroll interaction library, while Sticky focuses specifically on creating sticky elements. The choice between them depends on the project's requirements and complexity of desired scroll-based interactions.
Animate on scroll library
Pros of AOS
- Lightweight and easy to use, with minimal setup required
- Supports a wide range of animation effects out of the box
- Responsive and works well on mobile devices
Cons of AOS
- Limited control over complex animations and timelines
- Lacks advanced features for precise scroll-based animations
- May not be suitable for highly customized or intricate scroll interactions
Code Comparison
AOS:
<div data-aos="fade-up" data-aos-duration="1000">
  <h1>Animated content</h1>
</div>
ScrollMagic:
var controller = new ScrollMagic.Controller();
var scene = new ScrollMagic.Scene({
  triggerElement: "#trigger",
  duration: 300
}).setTween("#animate", 0.5, {backgroundColor: "green"}).addTo(controller);
AOS focuses on simplicity, using HTML attributes to define animations. ScrollMagic provides more granular control over animations through JavaScript, allowing for complex timelines and precise scroll-based triggers. While AOS is easier to implement for basic animations, ScrollMagic offers greater flexibility for advanced scroll interactions and custom animations.
Simple & lightweight (<4kb gzipped) vanilla JavaScript library to create smooth & beautiful animations when you scroll.
Pros of lax.js
- Lightweight and simple to use, with a smaller learning curve
- Supports mobile-friendly touch events out of the box
- Offers a wide range of pre-built animations and easing functions
Cons of lax.js
- Less flexible for complex, custom animations compared to ScrollMagic
- Limited documentation and community support
- Fewer advanced features like pinning elements or defining custom triggers
Code Comparison
ScrollMagic:
var controller = new ScrollMagic.Controller();
var scene = new ScrollMagic.Scene({
    triggerElement: "#trigger",
    duration: 300
})
.setTween("#animate", {scale: 2})
.addTo(controller);
lax.js:
lax.init();
lax.addDriver('scrollY', function() {
  return window.scrollY;
});
lax.addElements('#animate', {
  scrollY: {
    scale: [
      ['elInY', 'elCenterY', 'elOutY'],
      [1, 1.5, 2],
    ]
  }
});
Both libraries allow for scroll-based animations, but ScrollMagic offers more granular control over triggers and durations, while lax.js provides a more streamlined approach with pre-defined drivers and simpler syntax for common animations.
🚀 Performance focused, lightweight scroll animation library 🚀
Pros of sal
- Lightweight and simple to use, with minimal setup required
- No dependencies, making it easier to integrate into projects
- Supports modern browsers and has good performance
Cons of sal
- Limited features compared to ScrollMagic
- Less flexibility for complex animations and scroll-based interactions
- Smaller community and fewer resources available
Code Comparison
ScrollMagic:
var controller = new ScrollMagic.Controller();
var scene = new ScrollMagic.Scene({
    triggerElement: "#trigger",
    duration: 300
})
.setTween("#animate", {scale: 2.5})
.addTo(controller);
sal:
sal({
    threshold: 0.5,
    once: false,
});

// HTML
<div data-sal="slide-up" data-sal-duration="300">
    Animated element
</div>
ScrollMagic offers more control over animations and scroll-based events, allowing for complex interactions and timelines. It requires more setup but provides greater flexibility.
sal focuses on simplicity, using data attributes for basic animations. It's easier to implement for simple scroll animations but lacks advanced features.
Both libraries serve different purposes: ScrollMagic for complex scroll-based interactions, and sal for quick and easy scroll animations with minimal code.
🛤 Detection of elements in viewport & smooth scrolling with parallax.
Pros of Locomotive Scroll
- Smoother scrolling experience with customizable easing and lerp
- Built-in support for horizontal scrolling and mobile touch events
- Smaller file size and better performance optimization
Cons of Locomotive Scroll
- Less extensive documentation and community support
- Fewer built-in animation options compared to ScrollMagic
- May require more custom JavaScript for complex scroll-based animations
Code Comparison
ScrollMagic:
var controller = new ScrollMagic.Controller();
var scene = new ScrollMagic.Scene({
    triggerElement: "#trigger",
    duration: 300
}).setTween("#animate", {scale: 2.5}).addTo(controller);
Locomotive Scroll:
const scroll = new LocomotiveScroll({
    el: document.querySelector('[data-scroll-container]'),
    smooth: true,
    lerp: 0.05
});
scroll.on('scroll', (obj) => {
    // Custom animation logic here
});
Both libraries offer ways to create scroll-based animations, but ScrollMagic provides more built-in options for complex animations, while Locomotive Scroll focuses on smooth scrolling and requires more custom JavaScript for advanced effects. ScrollMagic uses a scene-based approach, whereas Locomotive Scroll relies on event listeners and custom logic for animations.
Convert  designs to code with AI
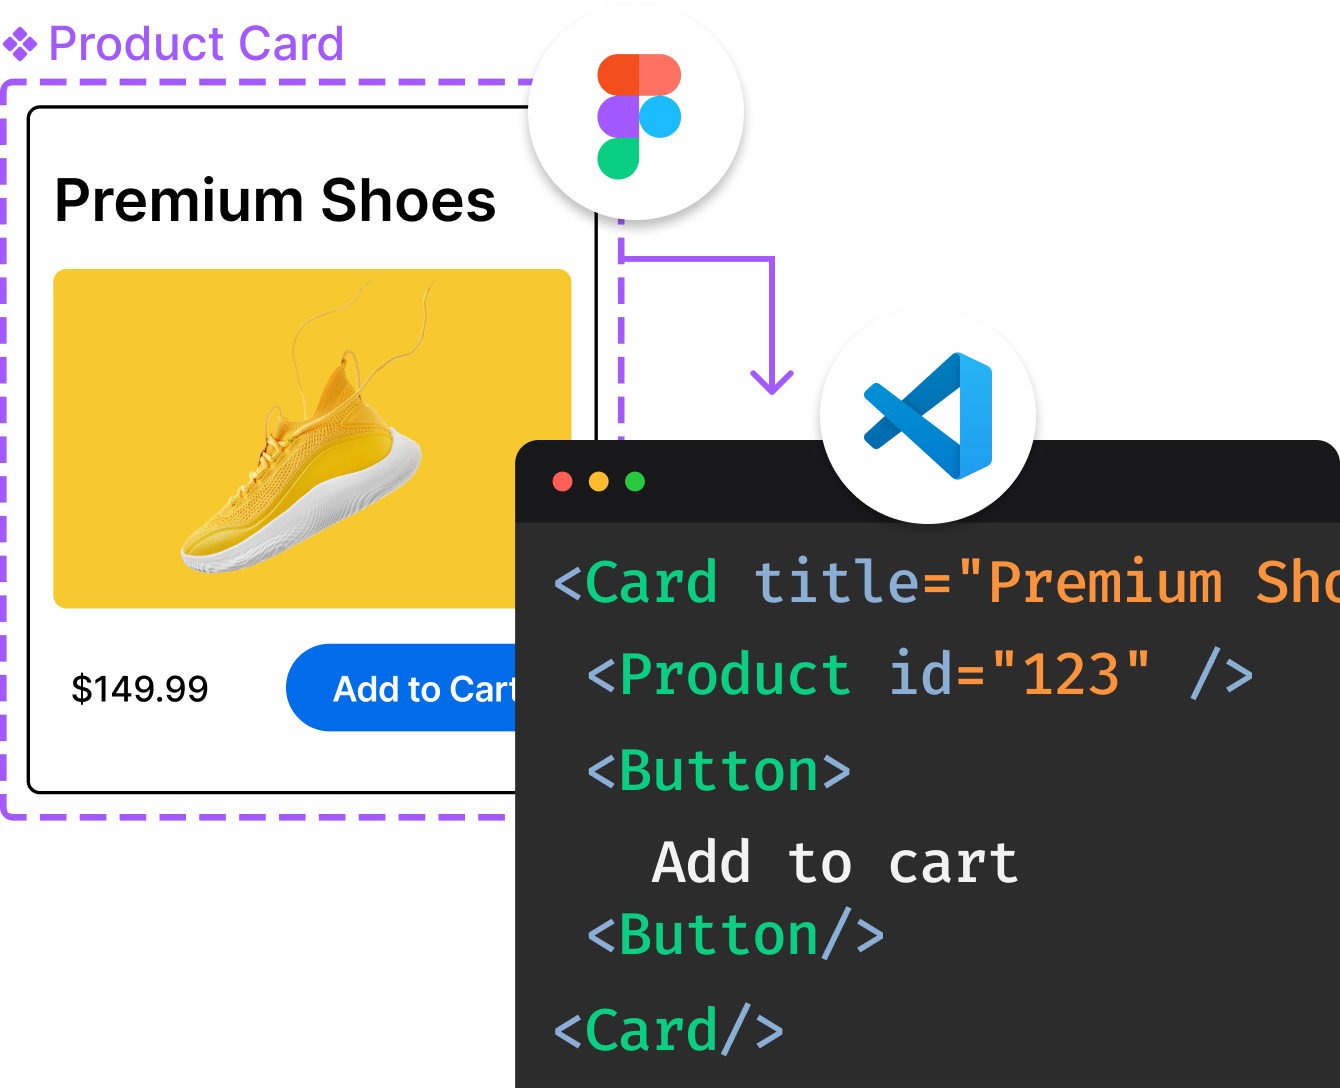
Introducing Visual Copilot: A new AI model to turn Figma designs to high quality code using your components.
Try Visual CopilotREADME
ScrollMagic 3





The lightweight library for magical scroll interactions
Looking for ScrollMagic v2? The legacy version is on the
v2-stablebranch.
ScrollMagic tells you where an element is relative to the viewport as the user scrolls â and fires events when that changes.
It's a convenience wrapper around IntersectionObserver and ResizeObserver that handles the performance pitfalls and counter-intuitive edge cases for you.

Not an animation library â unless you want it to be
By itself, ScrollMagic doesn't animate anything. It provides precise scroll-position data and events â what you do with them is up to you. If you're looking for a ready-made scroll animation solution, check out GSAP ScrollTrigger, Motion, or anime.js.
For pure CSS-driven scroll animations, see native scroll-driven animations (not yet supported in all browsers). ScrollMagic complements them by providing cross-browser support, event callbacks, progress values, and state management that the native API doesn't cover.
ScrollMagic is a general-purpose, framework-agnostic, zero-dependency foundation for scroll-driven UX â what you do with it is entirely up to you: class toggles, animations, lazy loading, parallax, scroll-linked video, behavioural tracking, or anything else.
Why ScrollMagic?
- Tiny footprint, zero dependencies
- Free to use (open source)
- Optimized for performance (shared observers, batched rAF, single-frame updates)
- Built for modern browsers, mobile compatible
- Native TypeScript support
- SSR safe
- Works with any scroll container (window or custom element)
- Horizontal and vertical scrolling
- Plugin system for extensibility
- Framework agnostic â works with React, Vue, vanilla JS, anything
Installation
npm install scrollmagic@next
Quick Start
import ScrollMagic from 'scrollmagic';

new ScrollMagic({ element: '#my-element' })
	.on('enter', () => console.log('visible!'))
	.on('leave', () => console.log('gone!'))
	.on('progress', e => console.log(`${(e.target.progress * 100).toFixed(0)}%`));
How It Works
ScrollMagic uses two sets of bounds to define the active range:
- Container bounds â a zone on the scroll container, defined by
containerStartandcontainerEnd - Element bounds â a zone on the tracked element, defined by
elementStartandelementEnd
Progress goes from 0 to 1 as the element bounds pass through the container bounds. Events fire on enter, leave, and progress change.
Contain and Intersect
The two most common configurations are contain and intersect. They differ in where the container bounds are positioned:
Contain (default when element is null)

The container bounds match the viewport edges â containerStart and containerEnd are both at 'here' (0%). Progress goes from 0 to 1 while one fully contains the other: either the element is fully visible inside the viewport, or the element fully covers the viewport.
Typical uses: scroll progress bars, parallax, scroll-linked video, scroll-driven storytelling.
Intersect (default when element is set)

The container bounds span the full viewport â containerStart and containerEnd are at 'opposite' edges (100%). Progress goes from 0 to 1 while the element intersects with the viewport: starting when its leading edge enters and ending when its trailing edge leaves.
Typical uses: enter/leave animations, lazy loading, class toggles, visibility tracking.
Not just defaults
While contain and intersect are the inferred defaults, you can also configure them explicitly â for example setting containerStart: 0, containerEnd: 0 on an instance that has an element to get contain behaviour, or mixing container and element insets for custom tracking zones. The two configurations are useful mental models, not rigid modes.
Native scroll-driven animation ranges
If you're familiar with CSS scroll-driven animations, here's how the native view() timeline ranges map to ScrollMagic configurations:
| Native range | ScrollMagic equivalent |
|---|---|
cover | intersect default â containerStart: 'opposite', containerEnd: 'opposite' |
contain | contain default â containerStart: 0, containerEnd: 0 |
entry | containerStart: 'opposite', containerEnd: 0 â container zone collapses to the trailing edge |
exit | containerStart: 0, containerEnd: 'opposite' â container zone collapses to the leading edge |
The native entry-crossing and exit-crossing ranges are equivalent to entry and exit above â the distinction only applies when subdividing a single native timeline, not when defining standalone tracking ranges.
Options
All options are optional. They can be passed to the constructor and updated at any time via setters or .modify().
| Option | Type | Default | Description |
|---|---|---|---|
element | Element | string | null | first child of container | The tracked element (or CSS selector). Selectors match only the first element â create one instance per element to track multiple. |
elementStart | number | string | function | 0 | Start inset on the element. |
elementEnd | number | string | function | 0 | End inset on the element. |
container | Window | Element | string | null | window | The scroll container (or CSS selector). Selectors use the first match. |
containerStart | number | string | function | null | inferred (see below) | Start inset on the scroll container. |
containerEnd | number | string | function | null | inferred (see below) | End inset on the scroll container. |
vertical | boolean | true | Scroll axis. true = vertical, false = horizontal. |
Inset values work like CSS top/bottom: positive values offset inward from the respective edge in the tracked direction. Accepted value types:
- Numbers â pixel values (e.g.
50) - Strings â percentage or pixel strings (e.g.
'50%','20px'), relative to the parent size (scroll container for container options, element for element options) - Named positions â
'here'(0%),'center'(50%),'opposite'(100%) - Functions â
(size) => numberfor dynamic computation
null means infer: For element, container, containerStart, or containerEnd, setting it to null resets them to their inferred default.
For containerStart/containerEnd the inferred values depend on element:
elementisnullâ defaults to contain: the element is inferred as the first child of the container (forwindowthis isdocument.body), container offsets are'here'(0%), mapping progress to overall scroll position.elementis notnullâ defaults to intersect: container offsets are'opposite'(100%), tracking the element as it scrolls through the full viewport.
Events
Subscribe with .on(), .off(), or .subscribe() (returns an unsubscribe function). Pass { once: true } to auto-remove the listener after its first invocation. Calling .off() or the unsubscribe function after the listener has already been removed (e.g. after a once listener fires) is a safe no-op.
| Event | When |
|---|---|
enter | Element enters the active zone (progress leaves 0 or 1) |
leave | Element leaves the active zone (progress reaches 0 or 1) |
progress | Progress value changes while in the active zone |
Every event provides:
event.target; // the ScrollMagic instance (access all properties, e.g. event.target.progress, event.target.element)
event.type; // 'enter' | 'leave' | 'progress'
event.direction; // 'forward' | 'reverse'
event.location; // 'start' | 'inside' | 'end'
Examples
// Intersect (default): active while any part of the element
// is visible in the viewport
new ScrollMagic({
element: '#a',
});
// Intersect with narrowed container zone:
// active while the element passes through the center line
new ScrollMagic({
element: '#b',
containerStart: 'center',
containerEnd: 'center',
});
// Same as above, but with element offsets:
// starts 50px before the element, ends 100px after it
new ScrollMagic({
element: '#c',
containerStart: 'center',
containerEnd: 'center',
elementStart: -50,
elementEnd: -100,
});
// Fixed scroll distance of 150px, regardless of element height.
// elementEnd receives the element's size and offsets from
// the bottom â (size - 150) leaves only 150px of track.
new ScrollMagic({
element: '#d',
containerStart: 'center',
containerEnd: 'center',
elementEnd: size => size - 150,
});
// Contain: active only while the element is fully visible
// (element insets pushed to opposite edges = full element height)
new ScrollMagic({
element: '#e',
elementStart: 'opposite', // same as '100%'
elementEnd: 'opposite', // same as '100%'
});
// Contain (default when no element): track overall scroll progress
new ScrollMagic();
API
const sm = new ScrollMagic(options);
// Event listeners
sm.on(type, callback); // add listener, returns instance (chainable)
sm.on(type, callback, { once: true }); // listener auto-removes after first invocation
sm.off(type, callback); // remove listener, returns instance (chainable)
sm.subscribe(type, callback); // add listener, returns unsubscribe function
sm.subscribe(type, callback, { once: true }); // both auto-removes and returns unsubscribe
// Modify options after creation
sm.modify({ containerStart: 'center' });
// All options can also be directly read and written
const elem = sm.element; // get the tracked element
sm.containerStart = 'center'; // set individual options
// Read-only getters
sm.progress; // 0â1, how far through the active zone
sm.activeRange; // { start, end } container scroll positions where tracking is active
sm.scrollVelocity; // px/s along tracked axis, 0 when idle
sm.resolvedBounds; // { element, container } cached layout bounds
// Refresh â recalculate bounds after external layout changes
sm.refresh();
// Pause / resume tracking without destroying
sm.disable(); // disconnects all observers, freezes progress
sm.enable(); // reconnects observers, recalculates from current state
sm.disabled; // read-only, true when disabled or destroyed
// Lifecycle
sm.destroy();
// Static
ScrollMagic.defaultOptions({ vertical: false }); // get/set defaults for new instances
ScrollMagic.refreshAll(); // refresh every active instance
ScrollMagic.destroyAll(); // destroy every active instance
When to use refresh()
ScrollMagic automatically tracks element size changes (via ResizeObserver) and scroll position changes. But some layout changes are invisible to these observers â they change an element's position without changing its size or triggering a scroll event.
Call refresh() (or ScrollMagic.refreshAll()) after:
- CSS position/margin/padding changes â
element.style.marginTop = '20px' - CSS class toggles that affect layout â
element.classList.add('expanded') - DOM structure changes â siblings added/removed above the element, shifting its position
- Images loading without explicit dimensions â an
<img>above the tracked element loads and expands, pushing it down - Font loading â
document.fonts.ready.then(() => ScrollMagic.refreshAll()) - Route changes in SPAs â content swap changes scroll height
- Dynamic content loading â CMS-injected content, third-party widgets
// After changing a style that affects position
element.style.marginTop = '100px';
sm.refresh();

// After fonts finish loading (affects text reflow)
document.fonts.ready.then(() => ScrollMagic.refreshAll());

// After a framework re-render that changes layout
onRouteChange(() => ScrollMagic.refreshAll());
Note that refresh() is only needed if you want bounds to update before the next scroll event. If the user keeps scrolling, element positions are re-read on every scroll frame anyway. refresh() matters when layout changes while tracking is active and the scroll position stays the same â e.g. toggling a class or injecting content without any scrolling.
refresh() is asynchronous â it schedules recalculation for the next animation frame and returns immediately. Multiple refresh() calls within the same frame are batched automatically.
Plugins
ScrollMagic has a plugin system for extending instance behaviour.
sm.addPlugin(myPlugin);
sm.removePlugin(myPlugin);
See PLUGINS.md for the full plugin authoring guide.
Browser Support
Chrome 73+, Firefox 69+, Safari 13.1+, Edge 79+ (aligned to ResizeObserver support).
License
MIT â Jan Paepke
Top Related Projects
jQuery Plugin for Sticky Objects
Animate on scroll library
Simple & lightweight (<4kb gzipped) vanilla JavaScript library to create smooth & beautiful animations when you scroll.
🚀 Performance focused, lightweight scroll animation library 🚀
🛤 Detection of elements in viewport & smooth scrolling with parallax.
Convert designs to code with AI
Introducing Visual Copilot: A new AI model to turn Figma designs to high quality code using your components.
Try Visual Copilot