 pyrender
Easy-to-use glTF 2.0-compliant OpenGL renderer for visualization of 3D scenes.
Top Related Projects

Blender glTF 2.0 importer and exporter

JavaScript 3D Library.

Universal Scene Description

The official Open-Asset-Importer-Library Repository. Loads 40+ 3D-file-formats into one unified and clean data structure.

Filament is a real-time physically based rendering engine for Android, iOS, Windows, Linux, macOS, and WebGL2

Unity Graphics - Including Scriptable Render Pipeline
Quick Overview
Pyrender is a Python library for rendering 3D meshes using OpenGL. It provides a simple interface for creating and manipulating 3D scenes, and can be used for visualization, robotics, and computer vision applications. Pyrender is built on top of the ModernGL library and supports both on-screen and off-screen rendering.
Pros
- Easy-to-use API for creating and manipulating 3D scenes
- Supports both on-screen and off-screen rendering
- Compatible with popular 3D file formats (OBJ, GLTF, etc.)
- Integrates well with other Python libraries like NumPy and Trimesh
Cons
- Limited documentation and examples compared to some other 3D rendering libraries
- Dependency on OpenGL may cause issues on some systems or cloud environments
- Performance may not be as optimized as some specialized rendering engines
- Limited built-in support for advanced rendering techniques (e.g., global illumination)
Code Examples
- Creating a simple scene with a mesh:
import pyrender
import trimesh

# Load a mesh
mesh = trimesh.load('model.obj')
mesh = pyrender.Mesh.from_trimesh(mesh)

# Create a scene and add the mesh
scene = pyrender.Scene()
scene.add(mesh)

# Create a viewer and display the scene
viewer = pyrender.Viewer(scene, use_raymond_lighting=True)
- Rendering an off-screen image:
import pyrender
import numpy as np

# Create a scene with a mesh
scene = pyrender.Scene()
mesh = pyrender.Mesh.from_points(np.random.rand(1000, 3))
scene.add(mesh)

# Set up the camera
camera = pyrender.PerspectiveCamera(yfov=np.pi / 3.0)
scene.add(camera, pose=[0, 0, -2, 0, 0, 0, 1])

# Render the scene
r = pyrender.OffscreenRenderer(400, 400)
color, depth = r.render(scene)
- Adding multiple objects and lights to a scene:
import pyrender
import numpy as np

# Create a scene
scene = pyrender.Scene()

# Add a sphere
sphere = pyrender.Sphere(radius=0.1)
scene.add(sphere, pose=np.eye(4))

# Add a light
light = pyrender.PointLight(color=[1.0, 1.0, 1.0], intensity=2.0)
scene.add(light, pose=[[1, 0, 0, 0],
                       [0, 1, 0, 1],
                       [0, 0, 1, 0],
                       [0, 0, 0, 1]])

# Add a camera
camera = pyrender.PerspectiveCamera(yfov=np.pi / 3.0)
scene.add(camera, pose=[0, 0, -2, 0, 0, 0, 1])

# Show the scene
viewer = pyrender.Viewer(scene, use_raymond_lighting=True)
Getting Started
To get started with pyrender, follow these steps:
-
Install pyrender and its dependencies:
pip install pyrender -
Import the library and create a simple scene:
import pyrender
import trimesh
import numpy as np

# Load a mesh
mesh = trimesh.load('model.obj')
mesh = pyrender.Mesh.from_trimesh(mesh)

# Create a scene and add the mesh
scene = pyrender.Scene()
scene.add(mesh)

# Add a camera
camera = pyrender.PerspectiveCamera(yfov=np.pi / 3.0)
scene.add(camera, pose=[0, 0, -2, 0, 0, 0, 1])

# Show the scene
viewer = pyrender.Viewer(scene, use_raymond_lighting=True)
This will create a simple scene with a loaded mesh and display it using the
Competitor Comparisons
Blender glTF 2.0 importer and exporter
Pros of glTF-Blender-IO
- Integrated directly with Blender, providing a seamless workflow for 3D artists
- Supports a wider range of glTF features, including animations and skinning
- Actively maintained by the Khronos Group, ensuring compatibility with the latest glTF specifications
Cons of glTF-Blender-IO
- Limited to use within Blender, not suitable for standalone Python applications
- Steeper learning curve for users not familiar with Blender's interface and scripting
Code Comparison
glTF-Blender-IO (Blender Python API):
import bpy
bpy.ops.import_scene.gltf(filepath="model.gltf")
bpy.ops.export_scene.gltf(filepath="exported_model.gltf")
pyrender (Python):
import pyrender
import trimesh
mesh = trimesh.load("model.obj")
scene = pyrender.Scene()
scene.add(pyrender.Mesh.from_trimesh(mesh))
pyrender.Viewer(scene, use_raymond_lighting=True)
The code snippets demonstrate the different approaches: glTF-Blender-IO operates within Blender's environment, while pyrender provides a more flexible, standalone Python solution for rendering and manipulating 3D scenes.
JavaScript 3D Library.
Pros of three.js
- Extensive 3D rendering capabilities with a rich ecosystem of plugins and extensions
- Widely adopted in the web development community with extensive documentation and examples
- Supports a wide range of 3D file formats and can be used for complex interactive 3D applications
Cons of three.js
- Steeper learning curve for beginners due to its extensive feature set
- Primarily designed for web-based 3D rendering, which may not be ideal for all use cases
- Larger file size and potentially higher performance overhead compared to more specialized libraries
Code Comparison
three.js:
const scene = new THREE.Scene();
const camera = new THREE.PerspectiveCamera(75, window.innerWidth / window.innerHeight, 0.1, 1000);
const renderer = new THREE.WebGLRenderer();
renderer.setSize(window.innerWidth, window.innerHeight);
document.body.appendChild(renderer.domElement);
pyrender:
import pyrender
import numpy as np

scene = pyrender.Scene()
camera = pyrender.PerspectiveCamera(yfov=np.pi / 3.0, aspectRatio=1.0)
scene.add(camera, pose=camera_pose)
r = pyrender.OffscreenRenderer(viewport_width=640, viewport_height=480)
Universal Scene Description
Pros of OpenUSD
- Comprehensive 3D scene description and interchange format
- Robust toolset for animation and VFX pipelines
- Extensive industry adoption and support
Cons of OpenUSD
- Steeper learning curve due to complexity
- Heavier system requirements for full functionality
Code Comparison
OpenUSD:
from pxr import Usd, UsdGeom

stage = Usd.Stage.CreateNew("myScene.usda")
xformPrim = UsdGeom.Xform.Define(stage, "/myXform")
spherePrim = UsdGeom.Sphere.Define(stage, "/myXform/mySphere")
pyrender:
import pyrender
import trimesh

mesh = trimesh.creation.box()
mesh = pyrender.Mesh.from_trimesh(mesh)
scene = pyrender.Scene()
scene.add(mesh)
Key Differences
- OpenUSD is a comprehensive ecosystem for 3D content creation and interchange, while pyrender focuses on rendering 3D scenes
- pyrender offers a simpler API for quick rendering tasks, whereas OpenUSD provides a more extensive set of tools for complex 3D workflows
- OpenUSD has broader industry support and integration capabilities, while pyrender is more lightweight and easier to set up for simple projects
The official Open-Asset-Importer-Library Repository. Loads 40+ 3D-file-formats into one unified and clean data structure.
Pros of assimp
- Supports a wide range of 3D file formats (40+)
- Written in C++, offering high performance and cross-platform compatibility
- Provides a comprehensive set of post-processing steps for mesh optimization
Cons of assimp
- Steeper learning curve due to C++ API
- Requires compilation and linking for use in projects
- Primarily focused on asset importing, not rendering
Code Comparison
assimp (C++):
Assimp::Importer importer;
const aiScene* scene = importer.ReadFile("model.obj", aiProcess_Triangulate | aiProcess_FlipUVs);
if (!scene || scene->mFlags & AI_SCENE_FLAGS_INCOMPLETE || !scene->mRootNode) {
    // Handle error
}
pyrender (Python):
import pyrender
import trimesh

mesh = trimesh.load('model.obj')
scene = pyrender.Scene()
scene.add(pyrender.Mesh.from_trimesh(mesh))
pyrender.Viewer(scene, use_raymond_lighting=True)
Summary
Assimp is a powerful library for importing and processing 3D assets, supporting numerous file formats and offering extensive post-processing capabilities. It's ideal for applications requiring broad format support and low-level control. Pyrender, on the other hand, is a Python-based rendering library that simplifies the process of visualizing 3D models, making it more accessible for rapid prototyping and visualization tasks.
Filament is a real-time physically based rendering engine for Android, iOS, Windows, Linux, macOS, and WebGL2
Pros of Filament
- High-performance real-time rendering engine with cross-platform support
- Extensive features including physically-based rendering, image-based lighting, and post-processing effects
- Active development and support from Google
Cons of Filament
- Steeper learning curve due to its comprehensive nature
- Requires more setup and configuration compared to Pyrender's simplicity
- C++ based, which may be less accessible for Python-focused developers
Code Comparison
Pyrender (Python):
import pyrender
import numpy as np

mesh = pyrender.Mesh.from_points(np.random.rand(100, 3))
scene = pyrender.Scene()
scene.add(mesh)
pyrender.Viewer(scene, use_raymond_lighting=True)
Filament (C++):
#include <filament/Engine.h>
#include <filament/Scene.h>
#include <filament/Renderer.h>

auto engine = Engine::create();
auto scene = engine->createScene();
auto renderer = engine->createRenderer();
// Additional setup required for mesh creation and rendering
Pyrender offers a more straightforward approach for quick 3D rendering in Python, while Filament provides a powerful, low-level rendering engine with extensive capabilities but requires more setup and C++ knowledge.
Unity Graphics - Including Scriptable Render Pipeline
Pros of Graphics
- More comprehensive graphics pipeline with advanced rendering features
- Extensive documentation and community support
- Integrated with Unity game engine for seamless development
Cons of Graphics
- Steeper learning curve due to complexity
- Requires Unity engine, less flexible for standalone use
- Larger codebase and resource footprint
Code Comparison
pyrender:
import pyrender
import numpy as np

scene = pyrender.Scene()
camera = pyrender.PerspectiveCamera(yfov=np.pi / 3.0)
scene.add(camera)
Graphics (Unity C#):
using UnityEngine;

public class CameraSetup : MonoBehaviour
{
    void Start()
    {
        Camera.main.fieldOfView = 60f;
    }
}
Summary
pyrender is a lightweight Python library for rendering 3D scenes, while Graphics is a comprehensive graphics package integrated with the Unity game engine. pyrender offers simplicity and ease of use for basic 3D rendering tasks, particularly in Python environments. Graphics provides more advanced features and integration with Unity's ecosystem but requires more setup and learning. Choose based on your project requirements and development environment preferences.
Convert  designs to code with AI

Introducing Visual Copilot: A new AI model to turn Figma designs to high quality code using your components.
Try Visual CopilotREADME
Pyrender

![]()
![]()
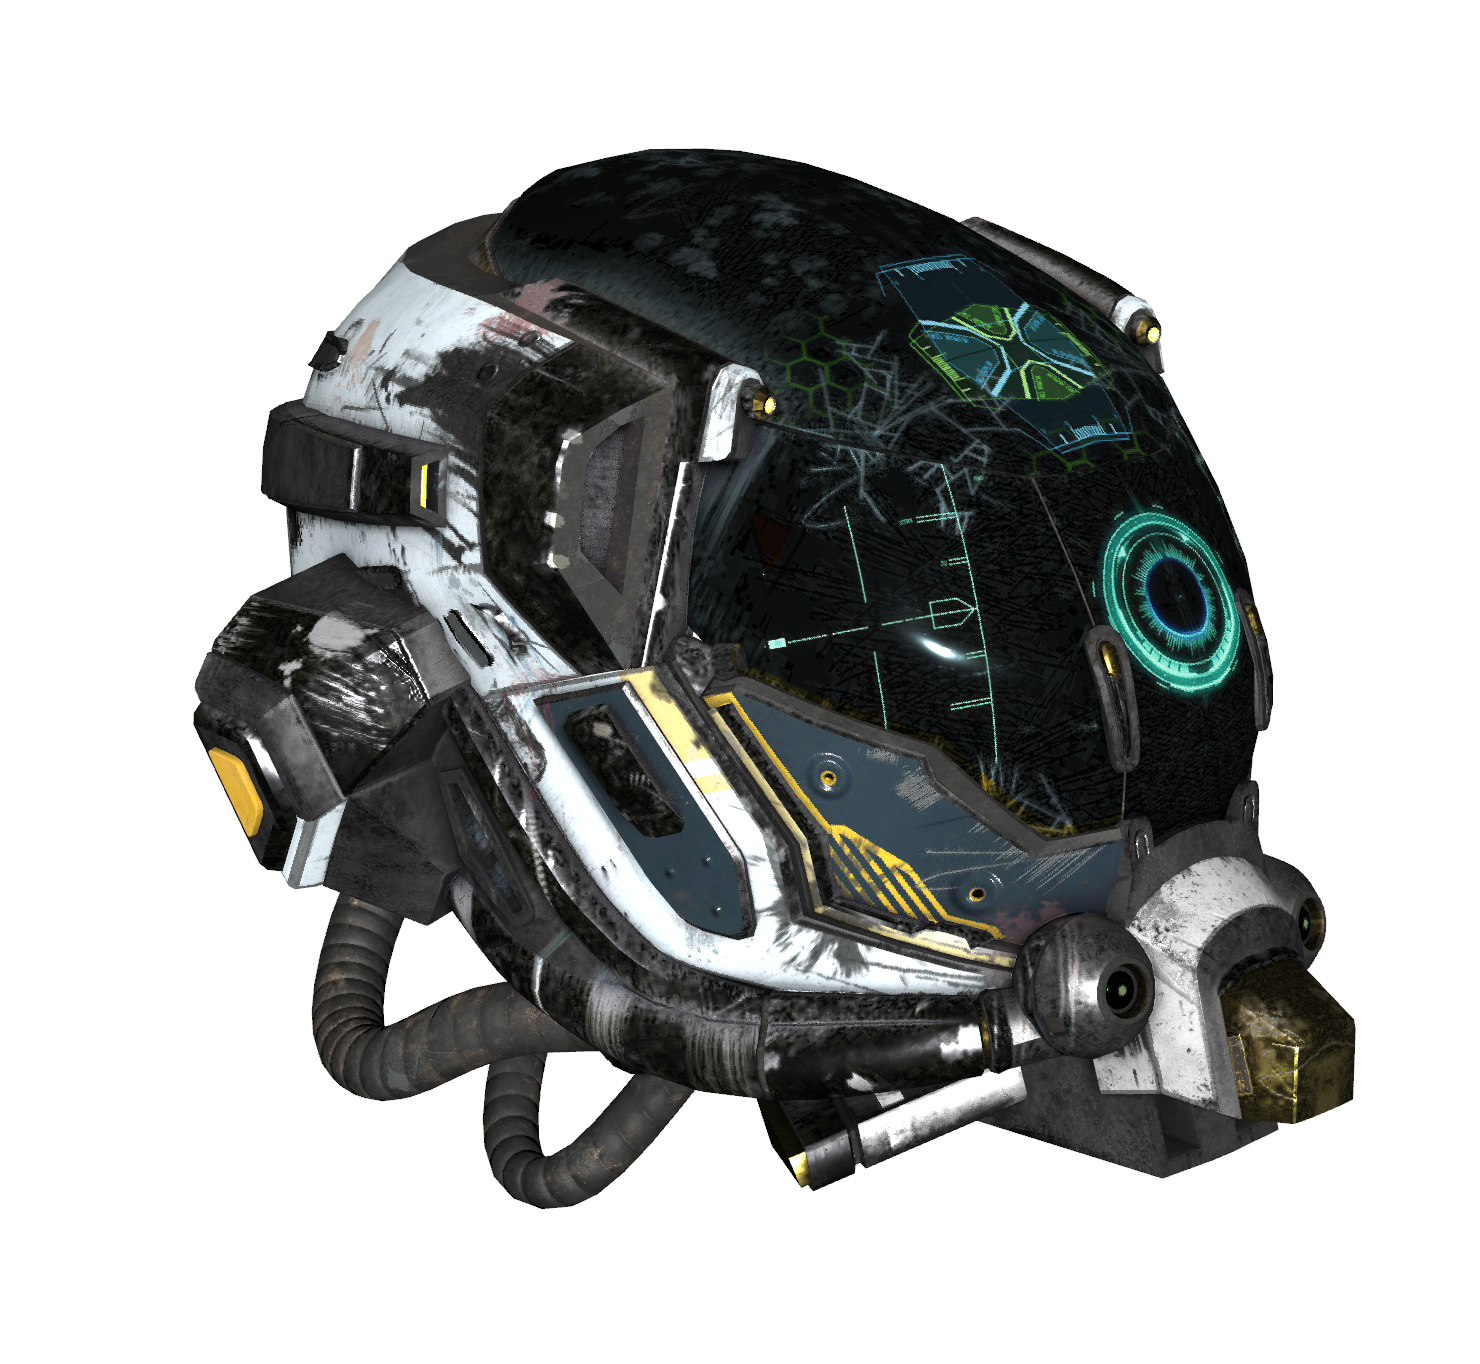
Pyrender is a pure Python (2.7, 3.4, 3.5, 3.6) library for physically-based rendering and visualization. It is designed to meet the glTF 2.0 specification from Khronos.
Pyrender is lightweight, easy to install, and simple to use. It comes packaged with both an intuitive scene viewer and a headache-free offscreen renderer with support for GPU-accelerated rendering on headless servers, which makes it perfect for machine learning applications.
Extensive documentation, including a quickstart guide, is provided here.
For a minimal working example of GPU-accelerated offscreen rendering using EGL, check out the EGL Google CoLab Notebook.
Installation
You can install pyrender directly from pip.
pip install pyrender
Features
Despite being lightweight, pyrender has lots of features, including:
- Simple interoperation with the amazing trimesh project, which enables out-of-the-box support for dozens of mesh types, including OBJ, STL, DAE, OFF, PLY, and GLB.
- An easy-to-use scene viewer with support for animation, showing face and vertex normals, toggling lighting conditions, and saving images and GIFs.
- An offscreen rendering module that supports OSMesa and EGL backends.
- Shadow mapping for directional and spot lights.
- Metallic-roughness materials for physically-based rendering, including several types of texture and normal mapping.
- Transparency.
- Depth and color image generation.
Sample Usage
For sample usage, check out the quickstart guide or one of the Google CoLab Notebooks:
Viewer Keyboard and Mouse Controls
When using the viewer, the basic controls for moving about the scene are as follows:
- To rotate the camera about the center of the scene, hold the left mouse button and drag the cursor.
- To rotate the camera about its viewing axis, hold
CTRLleft mouse button and drag the cursor. - To pan the camera, do one of the following:
- Hold
SHIFT, then hold the left mouse button and drag the cursor. - Hold the middle mouse button and drag the cursor.
- Hold
- To zoom the camera in or out, do one of the following:
- Scroll the mouse wheel.
- Hold the right mouse button and drag the cursor.
The available keyboard commands are as follows:
a: Toggles rotational animation mode.c: Toggles backface culling.f: Toggles fullscreen mode.h: Toggles shadow rendering.i: Toggles axis display mode (no axes, world axis, mesh axes, all axes).l: Toggles lighting mode (scene lighting, Raymond lighting, or direct lighting).m: Toggles face normal visualization.n: Toggles vertex normal visualization.o: Toggles orthographic camera mode.q: Quits the viewer.r: Starts recording a GIF, and pressing again stops recording and opens a file dialog.s: Opens a file dialog to save the current view as an image.w: Toggles wireframe mode (scene default, flip wireframes, all wireframe, or all solid).z: Resets the camera to the default view.
As a note, displaying shadows significantly slows down rendering, so if you're experiencing low framerates, just kill shadows or reduce the number of lights in your scene.
Top Related Projects
Blender glTF 2.0 importer and exporter
JavaScript 3D Library.
Universal Scene Description
The official Open-Asset-Importer-Library Repository. Loads 40+ 3D-file-formats into one unified and clean data structure.
Filament is a real-time physically based rendering engine for Android, iOS, Windows, Linux, macOS, and WebGL2
Unity Graphics - Including Scriptable Render Pipeline
Convert designs to code with AI
Introducing Visual Copilot: A new AI model to turn Figma designs to high quality code using your components.
Try Visual Copilot