 screenshot-to-code
Drop in a screenshot and convert it to clean code (HTML/Tailwind/React/Vue)
Top Related Projects

Diffusion Bee is the easiest way to run Stable Diffusion locally on your M1 Mac. Comes with a one-click installer. No dependencies or technical knowledge needed.

The original local LLM interface. Text, vision, tool-calling, training, and more. 100% offline.

Stable Diffusion web UI


Robust Speech Recognition via Large-Scale Weak Supervision
PyTorch package for the discrete VAE used for DALL·E.
Quick Overview
Screenshot-to-code is an open-source project that uses AI to convert screenshots of user interfaces into functional HTML/CSS code. It leverages computer vision and large language models to analyze images and generate corresponding code, aiming to streamline the process of translating designs into web implementations.
Pros
- Accelerates the design-to-code process, potentially saving developers significant time
- Provides a useful tool for rapid prototyping and concept visualization
- Supports multiple frontend frameworks and can generate code for various technologies
- Continuously improving with community contributions and AI advancements
Cons
- Generated code may require manual refinement for production-ready implementations
- Accuracy can vary depending on the complexity of the input screenshot
- May not capture all nuances of responsive design or advanced UI interactions
- Reliance on external AI services could raise privacy concerns for sensitive designs
Code Examples
This project is not primarily a code library, but rather a tool that generates code. However, here are some examples of how to use the generated code:
<!-- Example of generated HTML structure -->
<div class="container">
  <header>
    <h1>Welcome to My Website</h1>
    <nav>
      <ul>
        <li><a href="#home">Home</a></li>
        <li><a href="#about">About</a></li>
        <li><a href="#contact">Contact</a></li>
      </ul>
    </nav>
  </header>
  <main>
    <section id="content">
      <p>This is the main content area.</p>
    </section>
  </main>
</div>
/* Example of generated CSS styles */
.container {
  max-width: 1200px;
  margin: 0 auto;
  padding: 20px;
}

header {
  display: flex;
  justify-content: space-between;
  align-items: center;
}

nav ul {
  display: flex;
  list-style-type: none;
}

nav ul li {
  margin-left: 20px;
}
Getting Started
To use screenshot-to-code:
- Clone the repository:
git clone https://github.com/abi/screenshot-to-code.git - Install dependencies:
pip install -r requirements.txt - Set up your OpenAI API key as an environment variable
- Run the application:
python app.py - Upload a screenshot through the web interface
- Review and download the generated code
Note: Detailed setup instructions and requirements are available in the project's README file on GitHub.
Competitor Comparisons
Diffusion Bee is the easiest way to run Stable Diffusion locally on your M1 Mac. Comes with a one-click installer. No dependencies or technical knowledge needed.
Pros of DiffusionBee-Stable-Diffusion-UI
- Focuses on image generation using Stable Diffusion models
- Provides a user-friendly GUI for easy interaction
- Supports various image generation features like inpainting and outpainting
Cons of DiffusionBee-Stable-Diffusion-UI
- Limited to image generation tasks, not web development
- May require more computational resources for running Stable Diffusion models
- Less versatile in terms of output formats compared to Screenshot-to-Code
Code Comparison
While a direct code comparison is not particularly relevant due to the different nature of these projects, we can highlight some key differences in their implementation:
Screenshot-to-Code:
def generate_code(screenshot, code_template):
    # AI-based code generation from screenshot
DiffusionBee-Stable-Diffusion-UI:
def generate_image(prompt, model):
    # Stable Diffusion image generation
These snippets illustrate the fundamental difference in purpose between the two projects. Screenshot-to-Code focuses on generating code from visual input, while DiffusionBee-Stable-Diffusion-UI is designed for image generation based on text prompts.
The original local LLM interface. Text, vision, tool-calling, training, and more. 100% offline.
Pros of text-generation-webui
- Supports a wide range of language models and architectures
- Offers a user-friendly web interface for text generation tasks
- Provides extensive customization options and parameters
Cons of text-generation-webui
- Requires more setup and configuration compared to screenshot-to-code
- May have a steeper learning curve for users new to language models
- Focuses solely on text generation, lacking image processing capabilities
Code Comparison
text-generation-webui:
def generate_reply(
    prompt, state, stopping_strings=None, is_chat=False
):
    # Generate text based on prompt and parameters
    # ...
screenshot-to-code:
def generate_code(image_path, model):
    # Process image and generate HTML/CSS code
    # ...
The code snippets highlight the different focus areas of the two projects. text-generation-webui is centered around text generation with various parameters, while screenshot-to-code emphasizes image processing and code generation based on visual input.
Stable Diffusion web UI
Pros of stable-diffusion-webui
- More comprehensive and feature-rich, offering a wide range of image generation and manipulation tools
- Highly customizable with a large ecosystem of extensions and models
- Active community support and frequent updates
Cons of stable-diffusion-webui
- Steeper learning curve due to its extensive features and options
- Requires more computational resources and setup time
- Primarily focused on image generation, not web development or UI creation
Code Comparison
While a direct code comparison isn't particularly relevant due to the different purposes of these projects, here's a brief example of how they might be used:
screenshot-to-code:
from screenshot_to_code import generate_code
code = generate_code("screenshot.png")
print(code)
stable-diffusion-webui:
import modules.scripts as scripts
from modules import sd_samplers
result = scripts.process_images(prompt="A beautiful landscape")
result.images[0].save("output.png")
screenshot-to-code is focused on converting UI designs to code, while stable-diffusion-webui is primarily used for generating and manipulating images using AI models. The choice between them depends on the specific task at hand: UI development vs. image generation.
Pros of TaskMatrix
- Broader scope: Handles a wide range of tasks beyond UI generation
- Multi-modal capabilities: Integrates vision, language, and action
- More flexible: Can adapt to various types of inputs and outputs
Cons of TaskMatrix
- Less specialized: May not produce as refined UI code as Screenshot-to-code
- Potentially more complex to use due to its broader functionality
- Might require more computational resources for its diverse capabilities
Code Comparison
TaskMatrix (Python-based approach):
from taskmatrix import TaskMatrix

tm = TaskMatrix()
result = tm.process_image_and_generate_task("image.jpg", "Generate UI code")
print(result)
Screenshot-to-code (JavaScript-based approach):
import { generateCode } from 'screenshot-to-code';

const screenshot = 'path/to/screenshot.png';
const code = await generateCode(screenshot);
console.log(code);
Summary
TaskMatrix offers a more versatile approach to AI-driven tasks, including UI generation, while Screenshot-to-code focuses specifically on translating UI designs into code. TaskMatrix's broader scope may appeal to users needing multi-modal AI capabilities, while Screenshot-to-code might be preferred for its specialized UI code generation. The choice between them depends on the specific use case and desired level of specialization.
Robust Speech Recognition via Large-Scale Weak Supervision
Pros of Whisper
- Highly accurate speech recognition across multiple languages
- Versatile model capable of transcription, translation, and language identification
- Extensive research and development backing from OpenAI
Cons of Whisper
- Focused solely on audio processing, lacking visual or UI generation capabilities
- Requires significant computational resources for optimal performance
Code Comparison
While a direct code comparison isn't particularly relevant due to the different nature of these projects, here's a brief example of how each might be used:
Whisper:
import whisper

model = whisper.load_model("base")
result = model.transcribe("audio.mp3")
print(result["text"])
Screenshot-to-code:
from screenshot_to_code import generate_code

screenshot = "screenshot.png"
code = generate_code(screenshot)
print(code)
Summary
Whisper excels in audio processing and speech recognition, offering a robust solution for transcription and translation tasks. Screenshot-to-code, on the other hand, focuses on converting visual designs into code, addressing a different set of challenges in the realm of UI development. While both projects showcase impressive AI capabilities, they serve distinct purposes in the developer ecosystem.
PyTorch package for the discrete VAE used for DALL·E.
Pros of DALL-E
- Generates unique and creative images from text descriptions
- Capable of producing a wide variety of artistic styles and concepts
- Useful for brainstorming visual ideas and inspiration
Cons of DALL-E
- Does not generate functional code or UI elements
- Limited to image generation, not suitable for web development tasks
- Requires careful prompt engineering to achieve desired results
Code Comparison
While a direct code comparison is not relevant due to the different nature of these projects, here's a brief overview of how they might be used:
DALL-E (Python API example):
import openai

response = openai.Image.create(
    prompt="A website homepage for a coffee shop",
    n=1,
    size="1024x1024"
)
image_url = response['data'][0]['url']
Screenshot-to-code (Python usage example):
from screenshot_to_code import generate_code

screenshot_path = "coffee_shop_homepage.png"
generated_code = generate_code(screenshot_path)
print(generated_code)
DALL-E is focused on image generation from text prompts, while Screenshot-to-code aims to convert visual designs into functional code. They serve different purposes in the development process, with DALL-E being more suited for creative ideation and Screenshot-to-code for implementation.
Convert  designs to code with AI
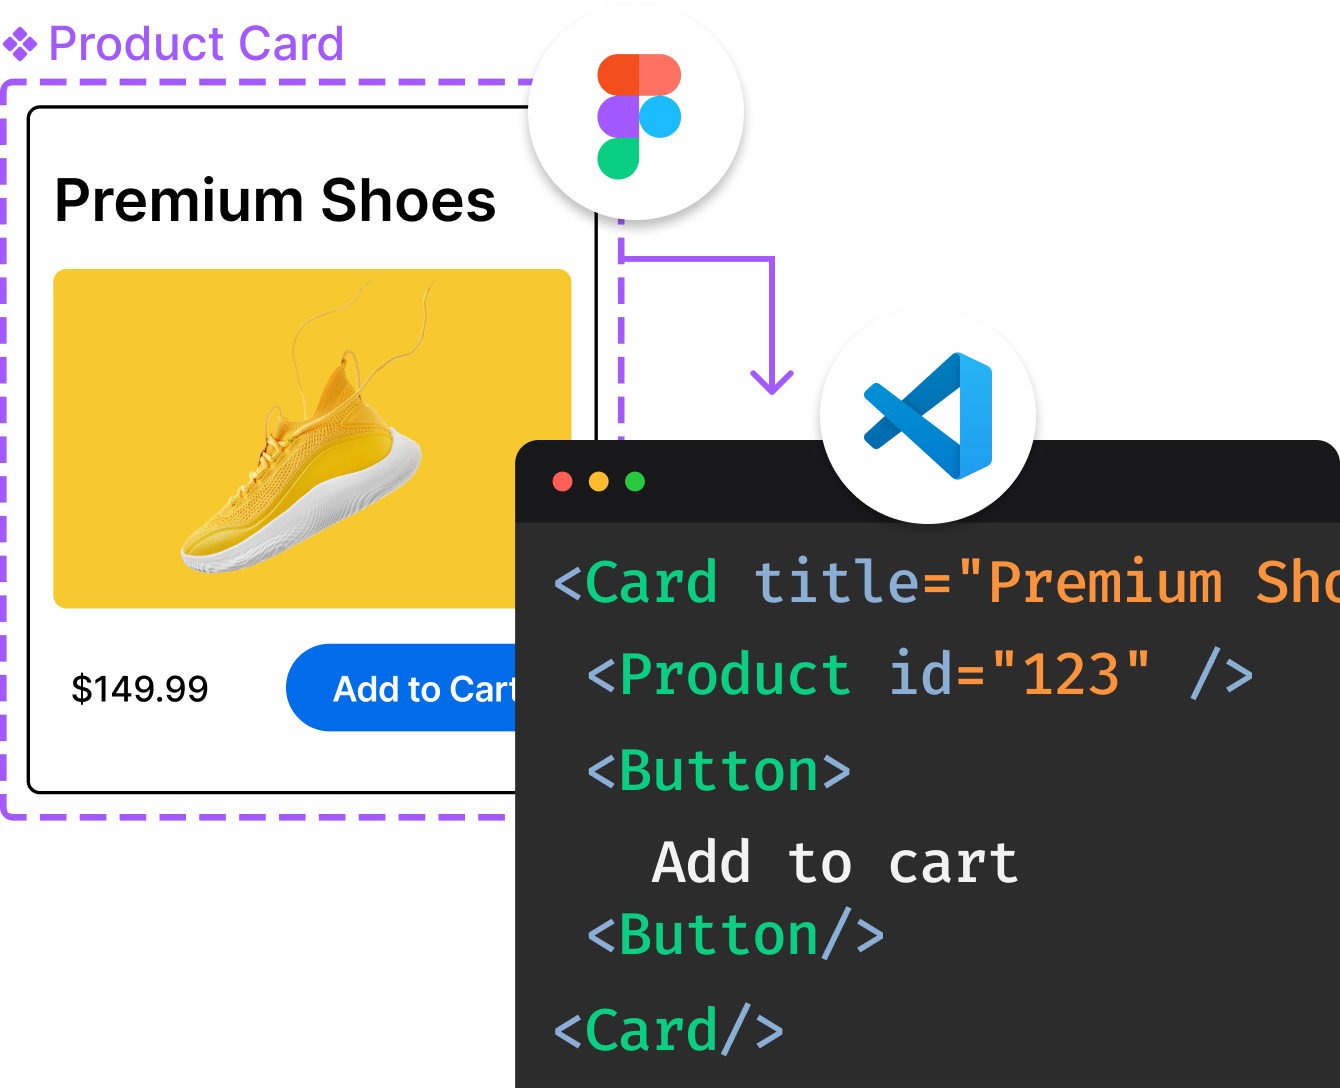
Introducing Visual Copilot: A new AI model to turn Figma designs to high quality code using your components.
Try Visual CopilotREADME
screenshot-to-code
Convert screenshots, mockups, Figma designs, and screen recordings into clean, functional code using AI. The easiest way to try this is using the official, hosted product at screenshottocode.com â
https://github.com/user-attachments/assets/ec08a5e6-9606-41c5-b03a-1bf47dfeba75
Supported stacks:
- HTML + Tailwind
- HTML + CSS
- React + Tailwind
- Vue + Tailwind
- Bootstrap
- Ionic + Tailwind
Default AI models:
- Gemini 3 Flash Preview and Gemini 3.1 Pro Preview - the best models
- GPT-5.5 and GPT-5.4 Mini
- Claude Opus 4.6, Claude Opus 4.8
- z-image-turbo (using Replicate) for image generation
See the Examples section below for more demos.
Screenshot to Code also supports taking a screen recording of a website in action and turning that into a functional prototype.
ð Getting Started
Choose the path that fits what you want to do:
- Run locally: best if you want to customize, self-host, or contribute.
- Use the hosted app: the fastest way to try Screenshot to Code with no local setup. Open the hosted app â
Running locally requires API keys and a backend/frontend setup. The app has a React/Vite frontend and a FastAPI backend.
API keys
You need at least one model provider key (OpenAI, Anthropic, or Gemini). Gemini and Replicate are strongly recommended for the best quality of screenshot-to-code accuracy â Gemini powers asset extraction (reusing the real logos/images from your screenshot) and Replicate powers image generation, background removal, and image editing. Adding all four keys gives the best results and lets you compare multiple models per generation.
| Key | Required? | What it unlocks |
|---|---|---|
OPENAI_API_KEY | One of these three | GPT code-gen variants (GPT-5.5, GPT-5.4 Mini) |
ANTHROPIC_API_KEY | One of these three | Claude code-gen variants (Opus 4.8, Fable 5, Sonnet 4.6) |
GEMINI_API_KEY | One of these three â strongly recommended | Gemini code-gen variants (3 Flash, 3.1 Pro); extracts real assets from the screenshot; required for video mode |
REPLICATE_API_KEY | Strongly recommended | Image editing, background removal, and Replicate-backed image generation â without it, edit_image and remove_background are unavailable, and image generation falls back to OpenAI if configured |
With more keys, the app automatically picks a stronger mix of models per variant; with a single key it uses that provider's models only.
If you'd like to run the app with Ollama open-source models (not recommended due to poor-quality results), follow this comment.
Run the backend (I use Poetry for package management; run pip install --upgrade poetry if you don't have it):
cd backend
echo "OPENAI_API_KEY=sk-your-key" > .env
echo "ANTHROPIC_API_KEY=your-key" >> .env
echo "GEMINI_API_KEY=your-key" >> .env
echo "REPLICATE_API_KEY=r8_your-key" >> .env
poetry install
# Install the Chromium browser used by the screenshot preview tool.
# On Linux, use `poetry run playwright install --with-deps chromium` to also
# install the required system libraries (needs sudo/apt).
poetry run playwright install chromium
poetry env activate
# run the printed command, e.g. source /path/to/venv/bin/activate
poetry run uvicorn main:app --reload --port 7001
You can also set up OpenAI, Anthropic, and Gemini keys using the settings dialog in the frontend (click the gear icon after loading the app). Replicate must be configured in backend/.env as REPLICATE_API_KEY. The Settings dialog also shows whether screenshot preview is available on your backend.
Screenshot preview (optional) lets the agent render its own generated page in a headless browser and visually check its work. It's enabled automatically once Chromium is installed (the
playwright install chromiumstep above, or automatically in the Docker image). If Chromium is missing, the app just skips the tool â the Settings dialog shows whether it's available.
Run the frontend:
cd frontend
yarn
yarn dev
Open http://localhost:5173 to use the app.
If you prefer to run the backend on a different port, update VITE_WS_BACKEND_URL in frontend/.env.local.
Docker
If you have Docker installed, run this from the root directory:
echo "OPENAI_API_KEY=sk-your-key" > .env
docker-compose up -d --build
The app will be up and running at http://localhost:5173. Note that you can't develop the application with this setup, as file changes won't trigger a rebuild.
ðââï¸ FAQs
- I'm running into an error when setting up the backend. How can I fix it? Try this. If that still doesn't work, open an issue.
- How do I get an OpenAI API key? See https://github.com/abi/screenshot-to-code/blob/main/Troubleshooting.md
- How can I configure an OpenAI proxy? If you're not able to access the OpenAI API directly, for example because of country restrictions, you can try a VPN or configure the OpenAI base URL to use a proxy. Set
OPENAI_BASE_URLinbackend/.envor directly in the UI in the settings dialog. Make sure the URL hasv1in the path, for example:https://xxx.xxxxx.xxx/v1. - How can I update the backend host that my frontend connects to? Configure
VITE_HTTP_BACKEND_URLandVITE_WS_BACKEND_URLinfrontend/.env.local. For example, setVITE_HTTP_BACKEND_URL=http://124.10.20.1:7001. - Seeing UTF-8 errors when running the backend? On Windows, open the
.envfile with Notepad++, then go to Encoding and select UTF-8. - How can I provide feedback? For feedback, feature requests, and bug reports, open an issue or ping me on Twitter.
ð Examples
NYTimes
| Original | Replica |
|---|---|
https://github.com/user-attachments/assets/a335a105-f9cc-40e6-ac6b-64e5390bfc21
Hacker News
https://github.com/user-attachments/assets/205cb5c7-9c3c-438d-acd4-26dfe6e077e5
Top Related Projects
Diffusion Bee is the easiest way to run Stable Diffusion locally on your M1 Mac. Comes with a one-click installer. No dependencies or technical knowledge needed.
The original local LLM interface. Text, vision, tool-calling, training, and more. 100% offline.
Stable Diffusion web UI
Robust Speech Recognition via Large-Scale Weak Supervision
PyTorch package for the discrete VAE used for DALL·E.
Convert designs to code with AI
Introducing Visual Copilot: A new AI model to turn Figma designs to high quality code using your components.
Try Visual Copilot